Watching on Mobile?
Video available on my blog.
Stampin’ Up has released their latest Online Exclusive offering! The One Horse Open Sleigh Suite really knocks it out of the park – with the absolutely incredible Designer Series Paper, Stamps, dies- and even snowflake embellishments.
In the video I show you different ways to use the Designer Series Paper, as well as options for the three cards shown here.
Online Exclusives are while supplies last- so do not hesitate in ordering these amazing products (available in my online store- see item numbers below)
SUPPLY LIST
Stamps: 162119 Horse & Sleigh
Paper: 162118 One Horse Open Sleigh Designer Series Paper, 159276 Basic White Cardstock, 153081 Misty Moonlight Cardstock, 146985 Petal Pink Cardstock
Ink: 153118 Misty Moonlight Ink Pad
Embellishments: 156408 White Glittered Organdy Ribbon, 162129 Adhesive-Backed Snowflake Assortment, 104430 Stampin’ Dimensionals
DIRECTIONS
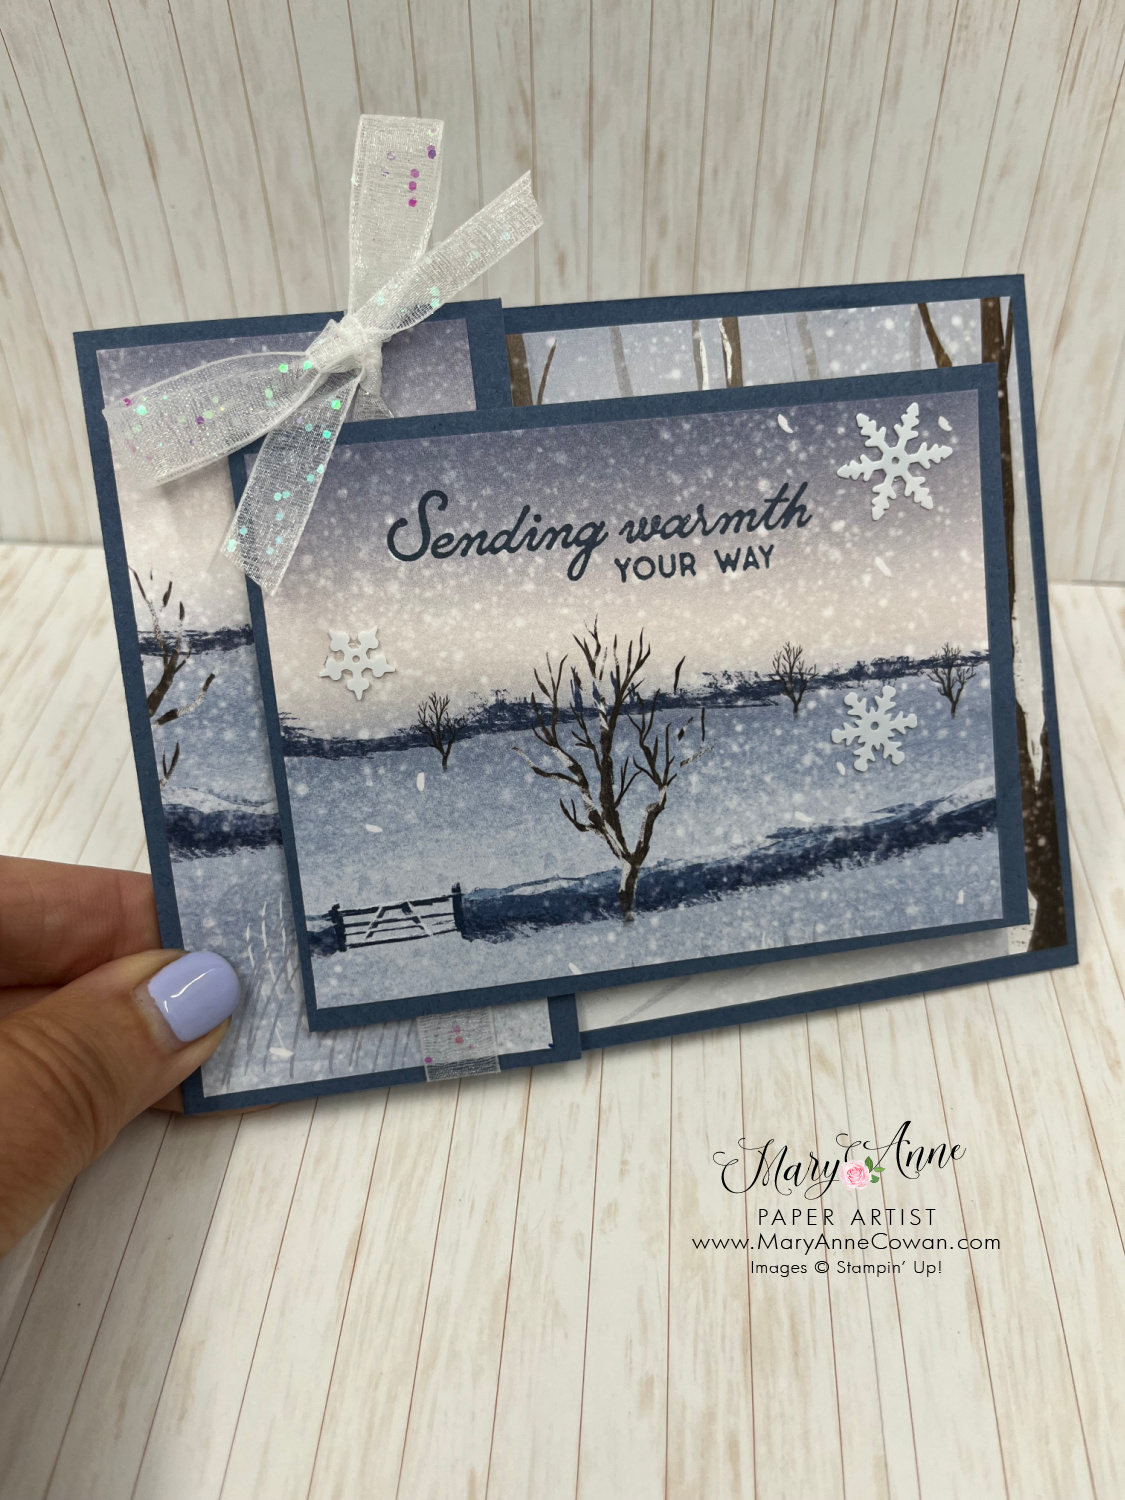
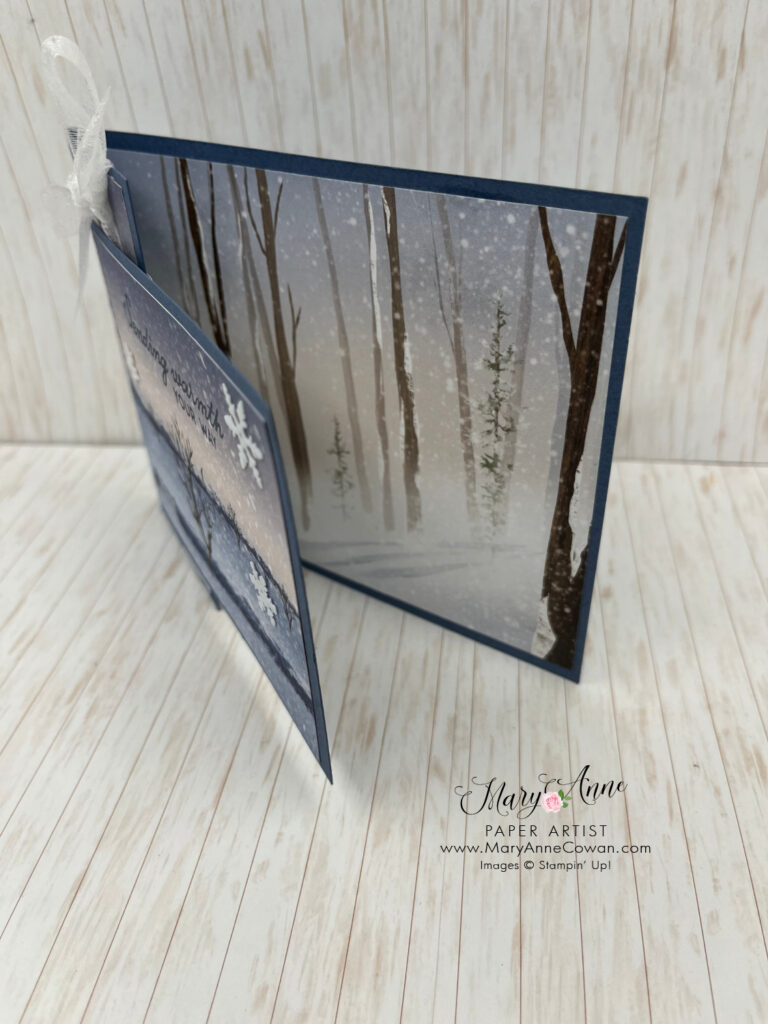
- Cut Misty Moonlight Cardstock to 4-1⁄4” x 11” and fold in half. Trim down card front to 2-1⁄4” x 4-1⁄4”. Use leftover piece for card front
- Cut Designer Series Paper to 2” x 4” and adhere to card front flap.
- Wrap Glittered Ribbon around card front flap and tie a bow.
- Cut Designer Series Paper to 5-1⁄4” x 4” and adhere to theinside.
- Cut Basic White Cardstock to 4” x 3”, stamp tree in MistyMoonlight and adhere to Designer Series Paper layer on theinside.
- Cut Designer Series Paper to 4” x 3” and stamp sentiment inMisty Moonlight. Layer on Misty Moonlight cut off piece and adhere panel to card front flap.
- Embellish card with Snowflakes.
SUPPLY LIST
Stamps: 162119 Horse & Sleigh
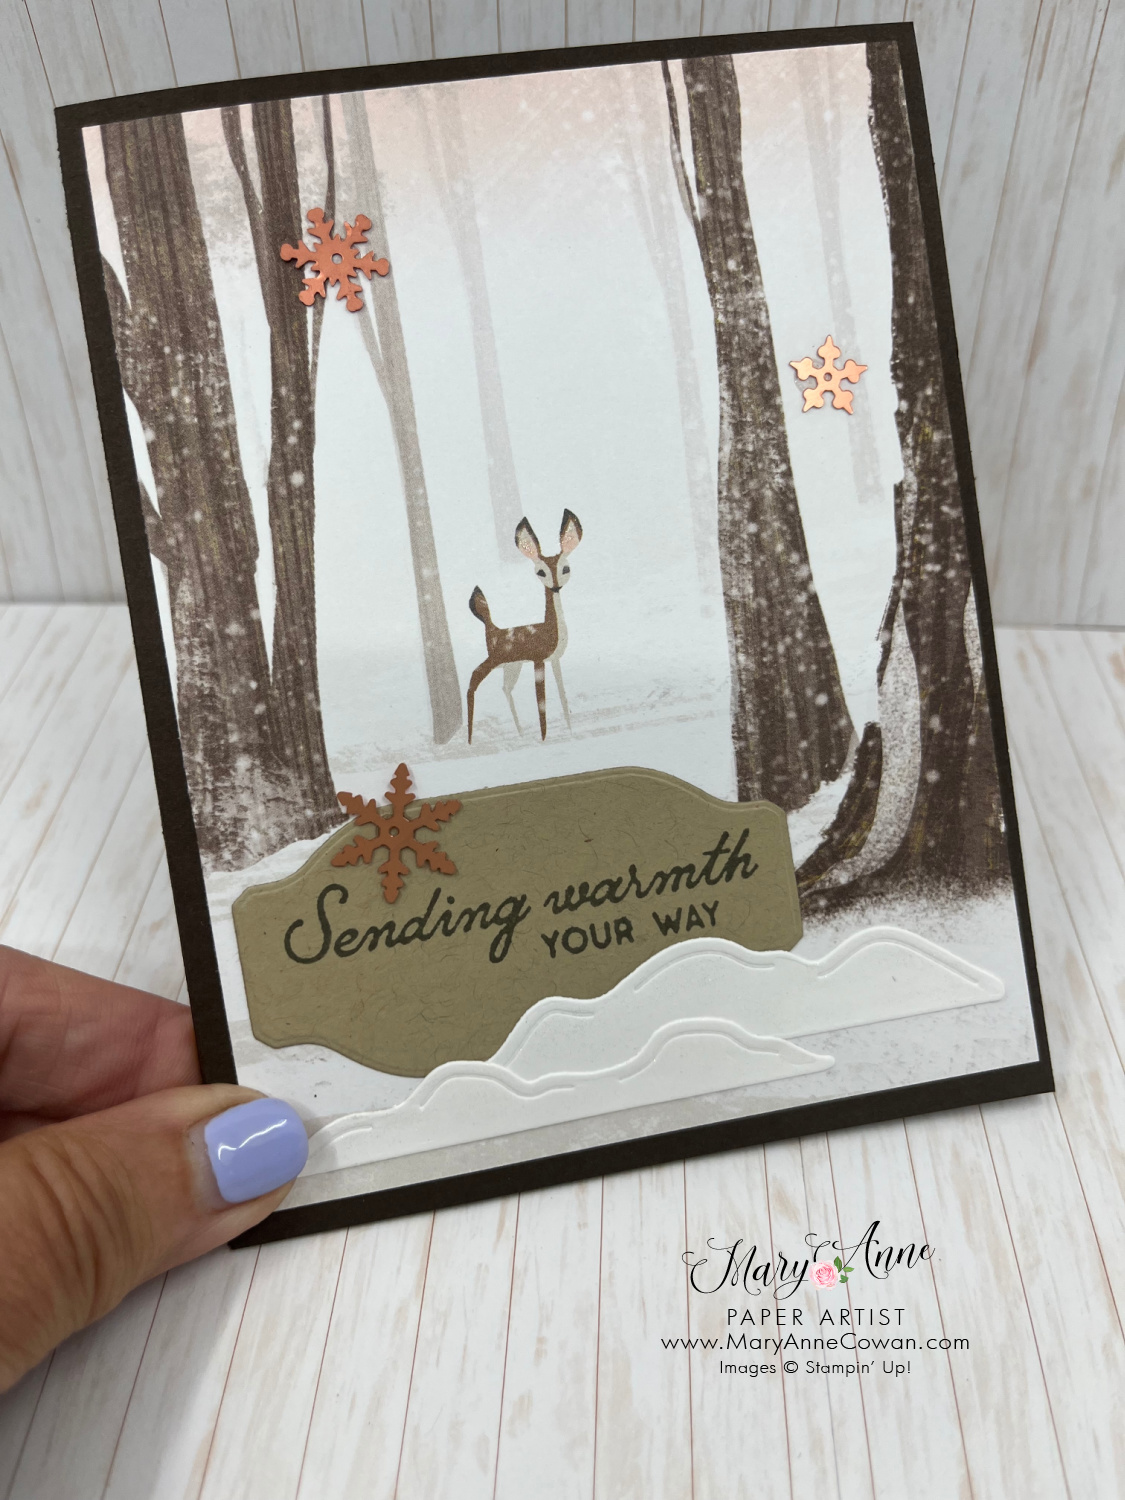
Paper: 162118 One Horse Open Sleigh Designer Series Paper, 159276 Basic White Cardstock, 119686 Early Espresso Cardstock, 120953 Crumb Cake Cardstock
Ink: 147114 Early Espresso Ink Pad
Embellishments: 162129 Adhesive-Backed Snowflake Assortment, 104430 Stampin’ Dimensionals
Tools: 149653 Stampin’ Cut & Emboss Machine, 162125 Horse & Sleigh Dies
DIRECTIONS
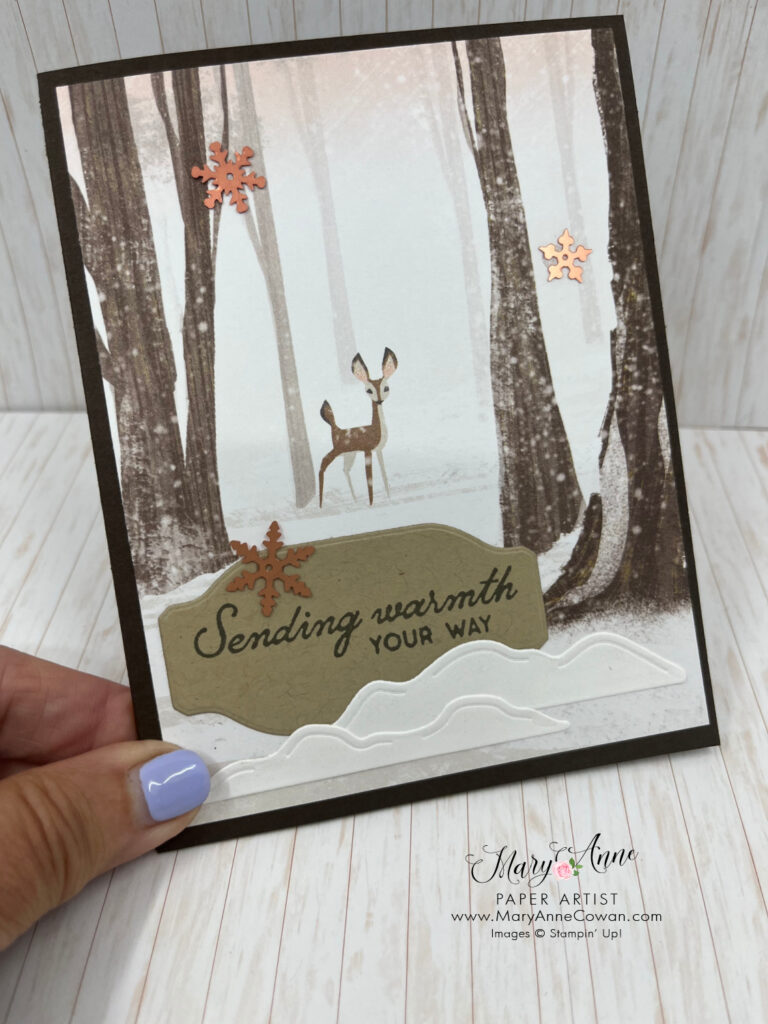
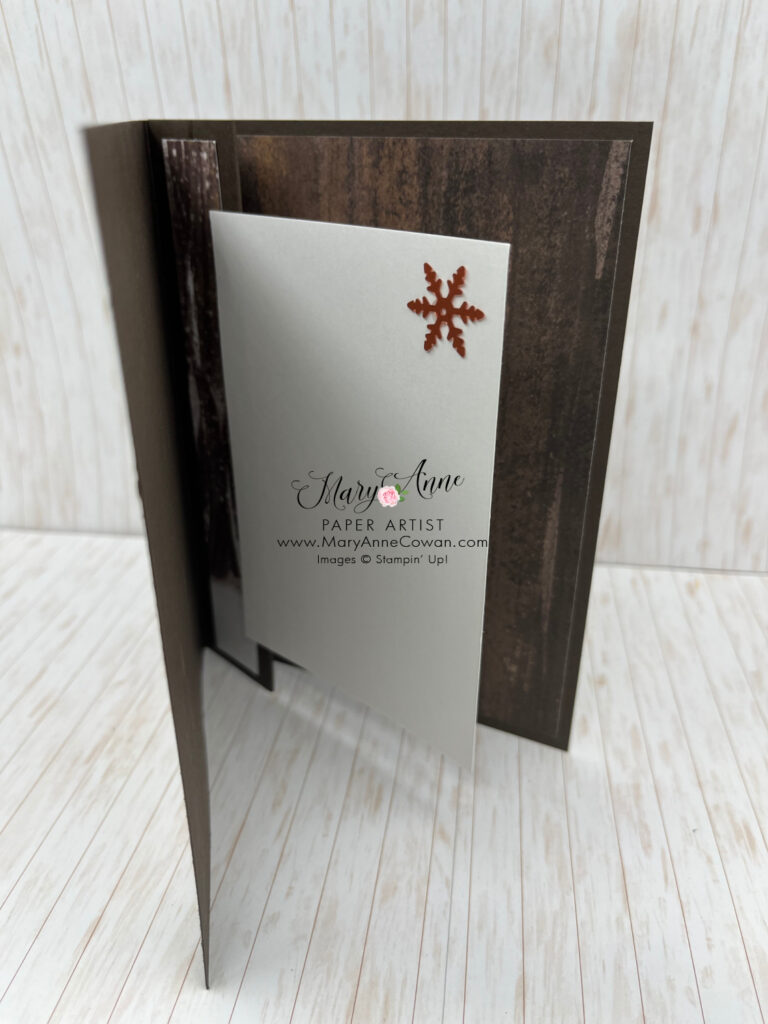
- Cut Early Espresso Cardstock to 5-1⁄2” x 11”. Score and fold long side at 4-1⁄4”, 5-1⁄2” and 6-3⁄4”.
- Cut 2 pieces of Designer Series Paper to 4” x 5-1⁄4”, then adhere one to the card front and one to the inside.
- Glue down seam section.
- Cut Designer Series Paper to 1” x 5-1⁄4” and adhere to middle section on the inside.
- Cut Basic White Cardstock to 3” x 4-1⁄4”
- Die-cut label from Crumb Cake Cardstock with Something Fancy Dies, stamp sentiment in Early Espresso and adhere to card front
- Die-cut banks of snow from Basic White Cardstock with Horse & Sleigh Dies, then adhere to card front.
- Embellish card with Adhesive-Backed Snowflakes.
SUPPLY LIST
Stamps: 162119 Horse & Sleigh
Paper: 162118 One Horse Open Sleigh Designer Series Paper, 159276 Basic White Cardstock, 133679 Lost Lagoon Cardstock
Ink: 149165 Basic Gray Ink Pad
Embellishments: 156408 White Glittered Organdy Ribbon, 162129 Adhesive-Backed Snowflake Assortment, 104430 Stampin’ Dimensionals
Tools: 149653 Stampin’ Cut & Emboss Machine, 154336 Give It A Whirl Dies
DIRECTIONS
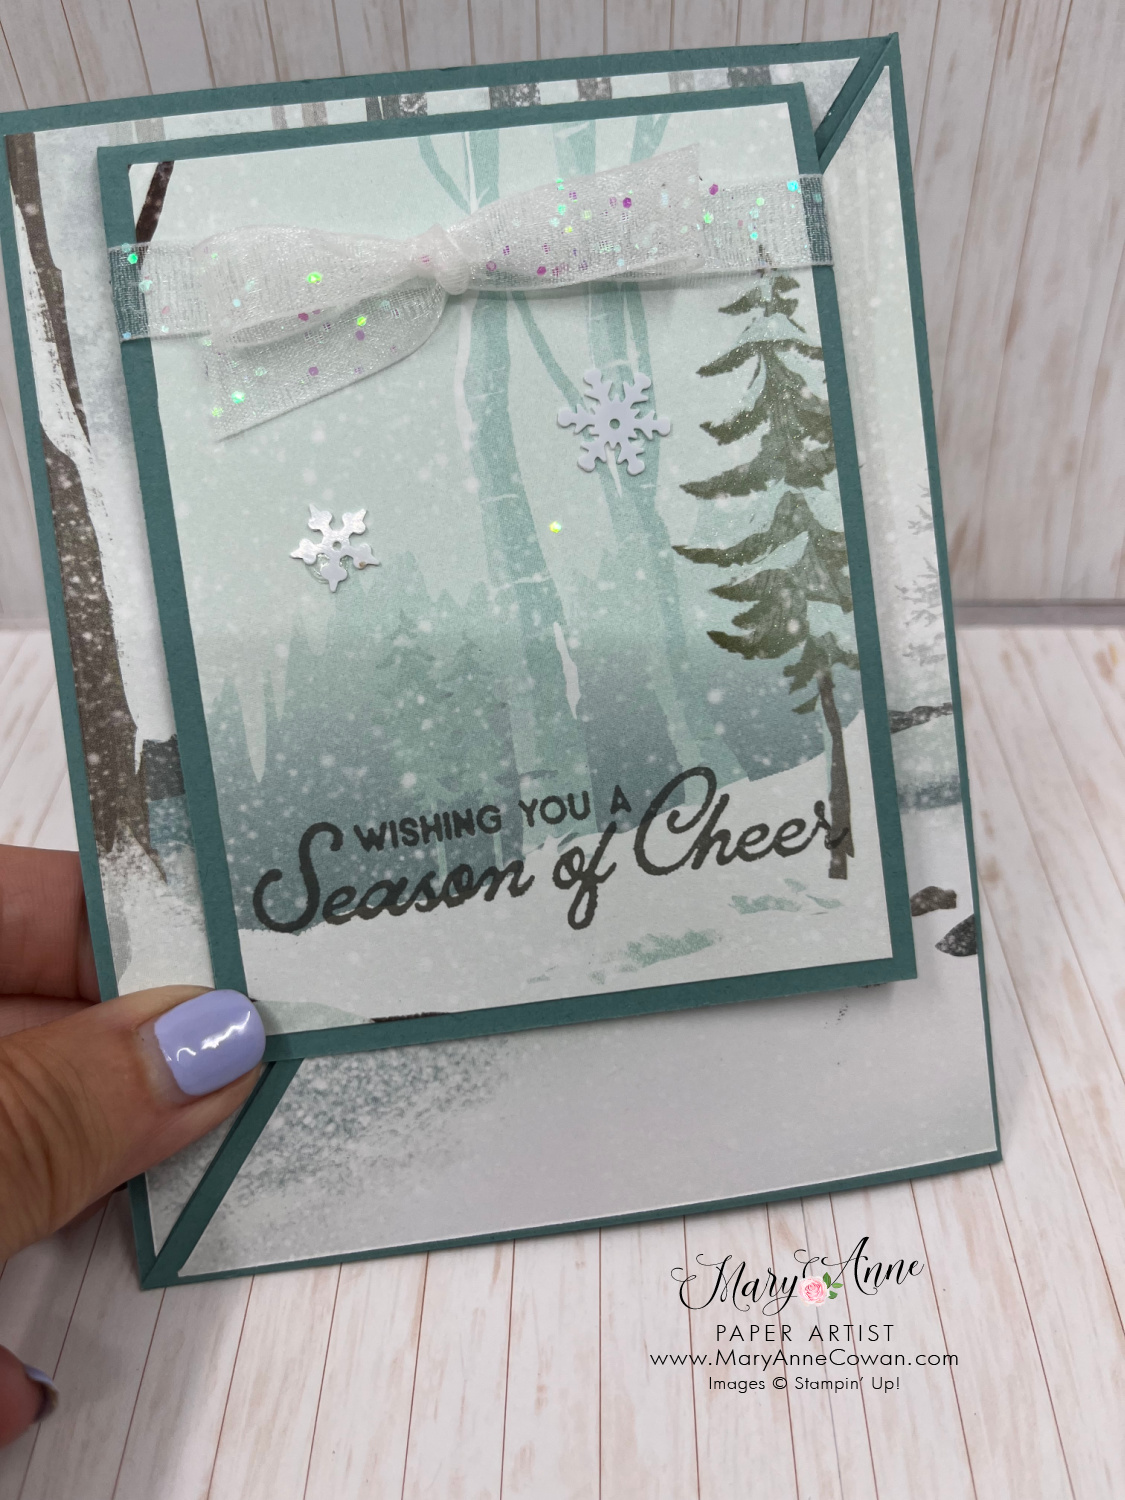
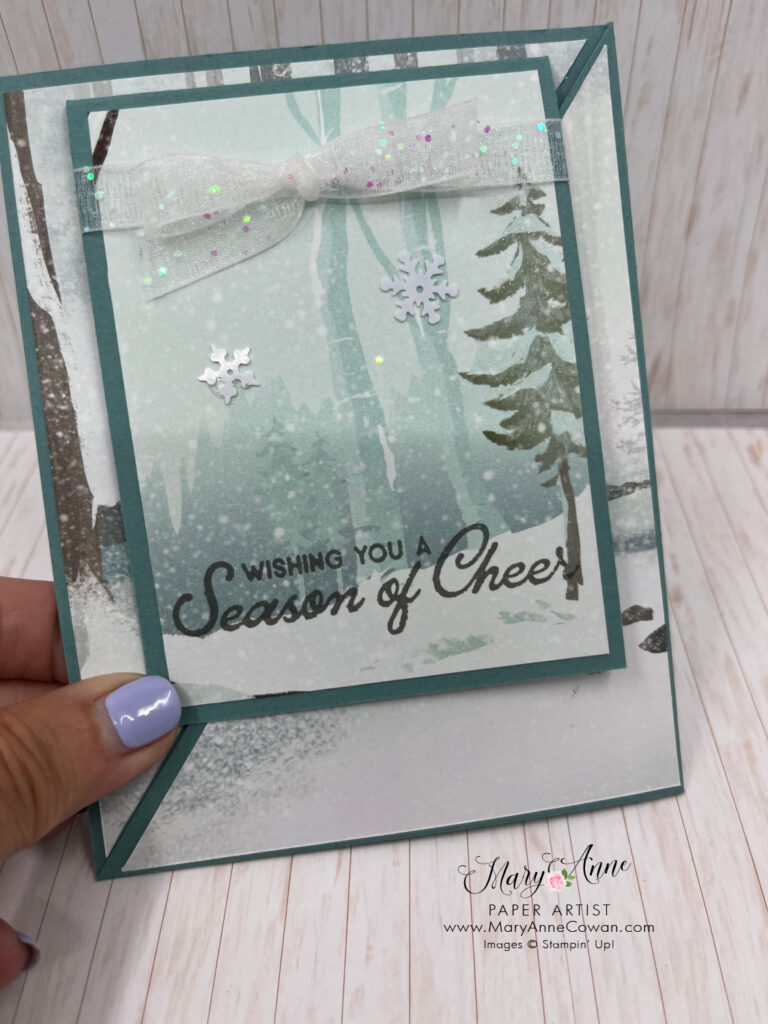
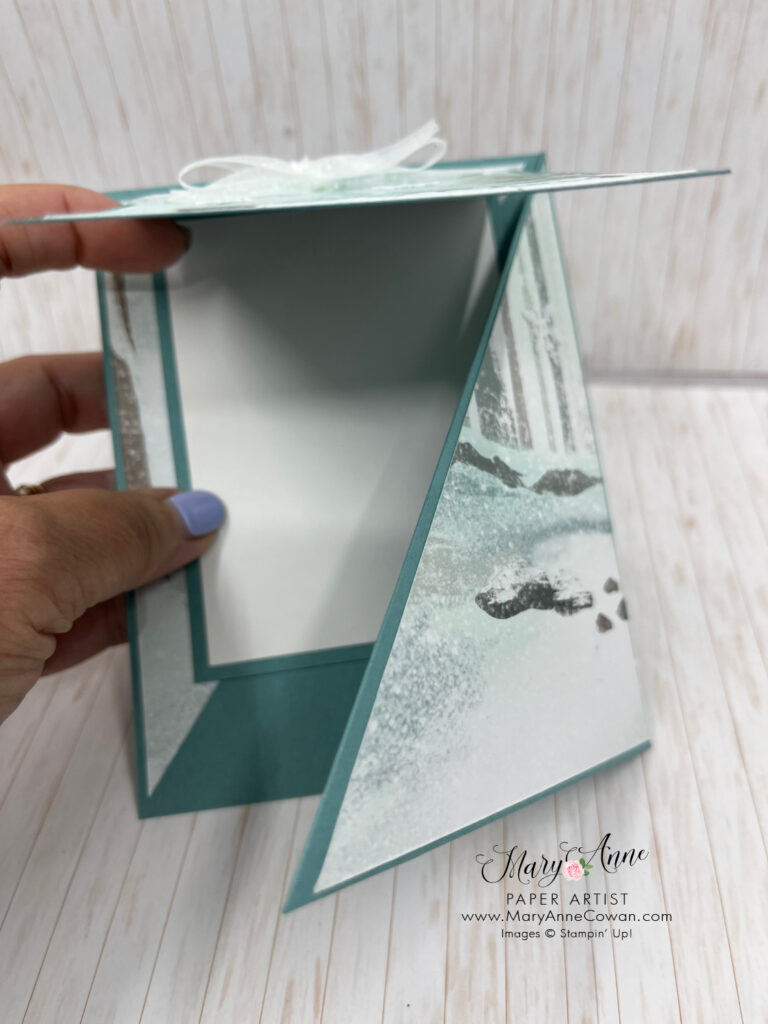
- Cut Lost Lagoon Cardstock to 5-1⁄2” x 8-1⁄2” and fold in half. Trim off card front at an angle from top right corner to bottom left corner.
- Cut Designer Series Paper to 4” x 5-1⁄4” and cut in half at an angle from top right corner to bottom left corner. Adhere triangles to card front flap and to the inside.
- Cut Lost Lagoon Cardstock to 3-1⁄4” x 8-1⁄2”, fold in half and adhere to the inside.
- Cut Designer Series Paper to 3” x 4”. Stamp sentiment and horse in Basic Gray, then adhere to mini cardfront.
- Cut Basic White Cardstock to 3” x 4”, stamp sleigh in Basic Gray and adhere to the inside of mini card.
- Wrap Glittered Ribbon around mini card front and tie a bow.
- Die-cut heart from Lost Lagoon Cardstock with Give It A Whirl Dies and adhere to card front withDimensionals (so mini card front can be tucked behind it).
- Embellish card with Adhesive-Backed Snowflakes.


MaryAnn,
I love these three cards-watching your video was very helpful and I would like to use your format layout for three of my cards I’m presenting at a OHOS Class I’m giving for two stamping friends. I will give your name as a reference and direct them to your website. I feel grateful to have discovered you as a source of inspiration for my paper crafting. Let me know if this is okay with you.
Stampingly yours,
Sylvia De Jong-Simpson
Hi Sylvia,
Thanks for visiting my blog.
Of course you can use the designs- and I appreciate you directing people to my blog.
Have fun!
Mary Anne